A/B Testing
In this guide, we’ll take you through an example of an A/B testing workflow that you can use to optimize your program for success.
Overview
At SheerID, our customers frequently seek guidance on ways to make their offers more attractive. We have found in our consultations with customers that an effective A/B testing strategy is one of the best ways to boost visibility and conversions for your offer.
Two popular testing strategies for SheerID programs are:
- Testing the discount amount
- Testing the positioning/description of the offer
This tutorial provides a workflow for optimizing your program for these or other elements with A/B testing. In the tutorial you will:
- Create two offer variants, each with a unique program ID and landing page.
- Divide traffic to the separate landing pages using a testing platform such as Optimizely.
- Pass unique campaign values to the different programs for reporting using our Campaign Tracking feature.
- Inspect the Campaigns report in the SheerID reporting dashboard to compare results.
Create your programs
Once you have settled on the variants you wish to test, e.g., 25% off vs. 40% off, it’s time to build your programs in MySheerID.
This tutorial assumes you already created one or more programs in MySheerID that you would like to use as variants in your A/B testing campaign. If you need to create a new program or just get a refresher on designing and publishing a program, see our Getting Started Guide.
Once you have your programs set up, we’ll see you back here for the next steps.
Set campaign metadata
For this tutorial, we will use SheerID’s out-of-the-box tool for tracking UTM parameters for your program variants. Campaign tracking is enabled by default for all new programs created after October 20, 2021.
In your program’s Settings page, enable Campaign Tracking. With this feature enabled, SheerID will define metadata keys for the five UTM parameters. We will be using the utm_campaign parameter to
compare variant performance.
- See Metadata Options to learn about adding custom metadata to your verifications.
- See Trends Analysis to learn how to download verification reports.
Split traffic to variant landing pages
When it’s time to go live with your new programs, be sure to add this step to your launch checklist.
- Using your preferred A/B testing platform, divert consumer traffic to the different landing page URLs in the proportion that you are using for your test.
- For each program variant, use a unique value for the
utm_campaignparameter, e.g.:
- 25% Offer:
https://services.sheerid.com/verify/606499592e7a780064bcf12f?layout=landing?utm_campaign=25sale - 40% Offer:
https://services.sheerid.com/verify/6182bb4fcb83575df2db2c30/?layout=landing?utm_campaign=40sale
Analyze the results
After your programs have run through your evaluation period, it’s time to compare performance.
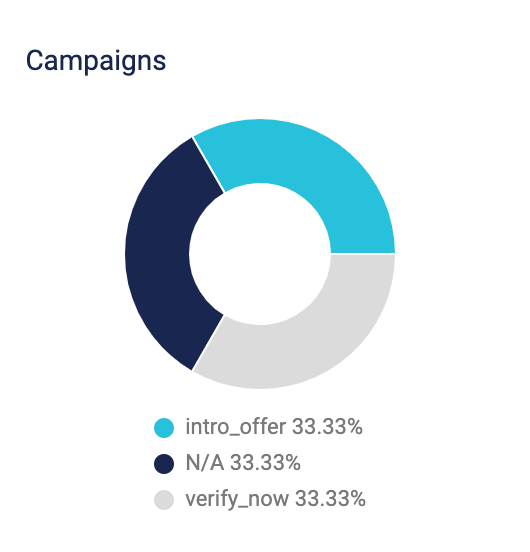
In your reporting dashboard, look for the Campaigns report, which breaks out your verifications by the values passed to SheerID in the UTM campaign parameter.
