Hosted Form Migration Guide
Migrate your SheerID hosted form implementation to our self-service 2.0 platform.
Background
In 2019 we released SheerID 2.0 - the latest version of the SheerID platform and API which brings enhanced speed, reliability, security, and ease of implementation. These changes leverage new technologies that deliver a better experience to your end users.
We also simplified our APIs, making development easier for our engineers and customers.
And most importantly, we launched our self-service portal, My.SheerID.com, allowing you to create, configure, and customize your verification programs in one easy-to-use interface.
If you have a SheerID-hosted form today, this document will help guide you through the necessary steps to migrate your verification program(s) to MySheerID. See our legacy documentation on SheerID Hosted Verification Applications for more information about hosted forms.
Why Migrate?
SheerID 2.0 benefits include:
- Faster loading forms that are more easily customized
- MySheerID, a self-service platform for managing programs
- A simplified API to make implementation faster and easier
- Advanced fraud protections
- International options
- Default re-engagement features
- Conversion tracking and ROI dashboards
Let’s get started!
Setup
In this section you will complete the following steps:
- Access your MySheerID account.
- Create a new program in MySheerID.
- Customize the user experience of your program: theme, logo, etc.
- Optionally configure additional program settings.
Access Your Account
The migration process takes place completely within MySheerID. If you have your credentials to our legacy client portal at services.sheerid.com, use them to log in to MySheerId.
If you do not have your login credentials, contact our Support team at [email protected] to retrieve them.
Create Program
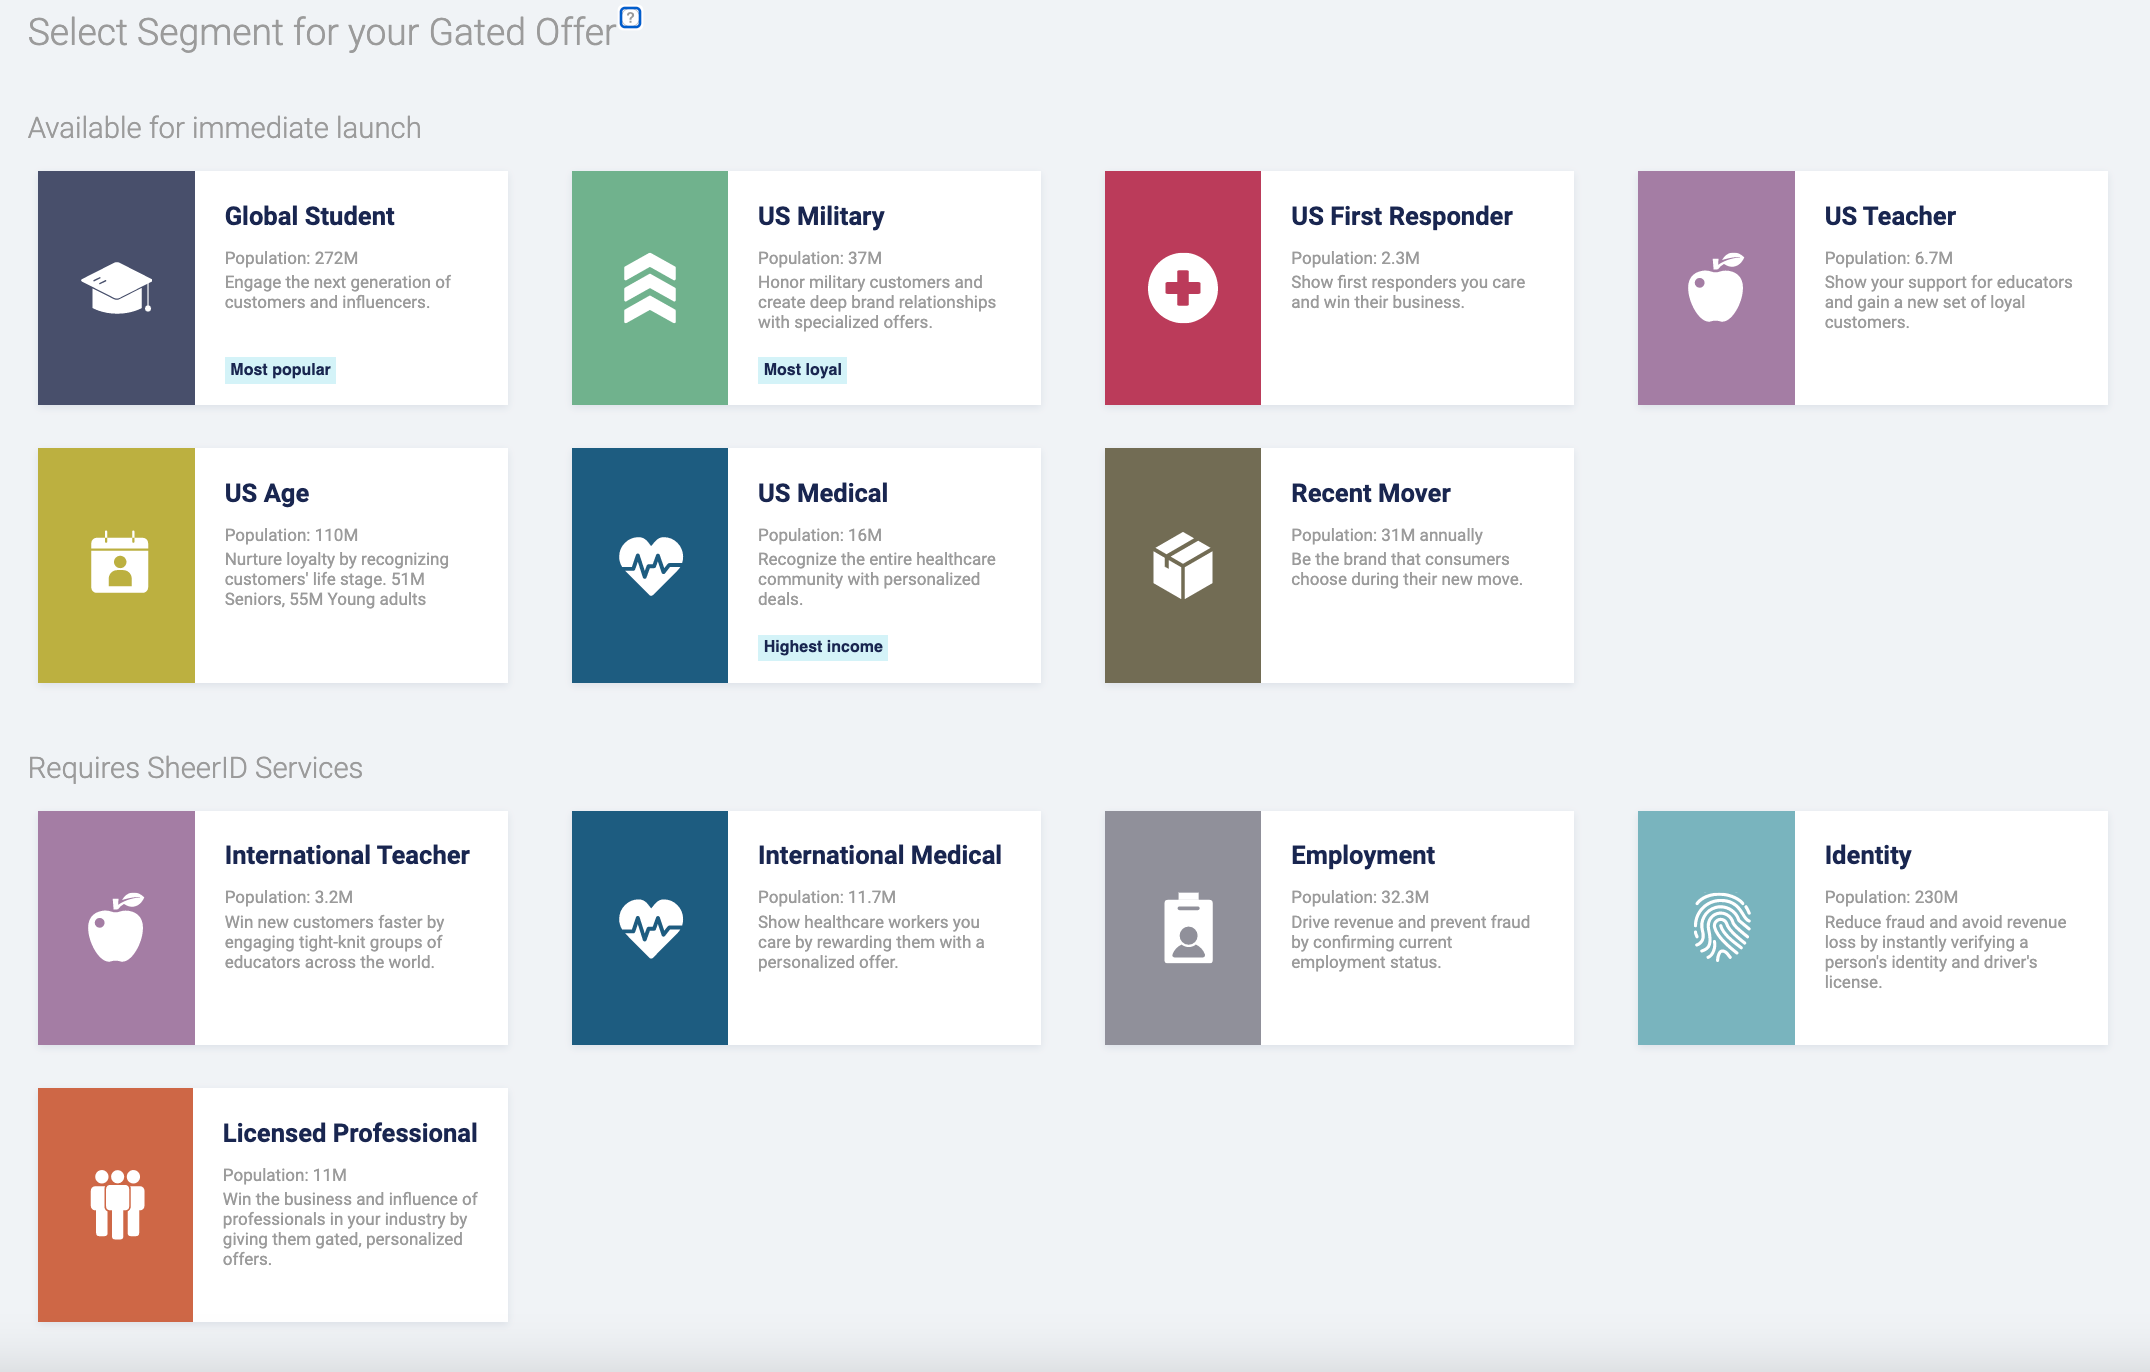
Once logged in to your MySheerID account, click the Create Verification Program button in the upper-right hand corner to begin.
Select the program segment that aligns with your offer:
Now you are ready to customize the user experience for your form.
Customize Experience
In this section, you will customize the basic elements of your program, which include:
- The messaging text used in verification steps
- Theme options including logo, font, colors, and optionally custom CSS
- Promotional codes
See Customize Experience for details on completing these steps, and return here after you click the Save button.
Next, let’s explore the advanced program settings. Some of these options may be new since the introduction of the 2.0 platform.
Program Settings
Once you have gone through the initial setup and saved your program, a Settings tab will appear at the top of your program when editing, in addition to the Text, Theme, and Codes sections that you edited previously.
Installation
Now you have created and configured your program. It’s time to install your verfication form on your site. This migration guide assumes that you are using one of the following two installation methods:
- Lightbox form
- SheerID JavaScript library
Lightbox
The lightbox method is the easiest way to get up and running with a verification form. This method will present your form in a lightbox modal when a user clicks the provided link.
To install using this method, follow these instructions from our Getting Started guide.
If you prefer to embed the form in a page, choose the JavaScript library installation method in the next section.
If you are satisfied with your program at this stage, proceed to the Launch section below.
JavaScript Library
To install your form using our JavaScript library, follow the instructions here: JavaScript Library.
If you are satisfied with your program at this stage, proceed to the Launch section below.
Launch
As you will have noticed by now, we no longer maintain a separate sandbox environment for program testing. If you have reached this section, you have tested all of your settings and are ready to take your program from Test to Live status.
When you are ready to launch your program, initiate a request to publish it by clicking the Go Live button beneath the code snippet on your program’s Program page. This action will engage our Account and Client Delivery teams to ensure that your Services Agreement is in place and to perform a quality review of your program.
See Test Your Program for details.
Post-launch
Congratulations! You have successfully launched your MySheerID program. Now you can take advantage of all the new and upcoming features that this next-generation platform has to offer.
Here are a few resources to help you get the most out of your new program and to keep up-to-date on new SheerID offerings:
-
Reporting Dashboard: Analyze trends and measure the effectiveness of your SheerID programs.
-
Customer Service Search: Use our customer service search tool to get details on individual verification records.
-
Release Notes: Stay up to date on the latest SheerID 2.0 products and features.
Product Deprecation Schedule
See our Product Deprecation Schedule for platform version status and end-of-life dates.

